This tutorial will show you how to torify FTP clients in the example of FileZilla and WinSCP.
Let's assume you have created an account on my former Hosting service and you want to upload your files. To do that, you connect with the detials given in your dashboard. Clearnet works out of the box, but is not torified. To connect to the hidden service, you need to make a few changes to the configuration.

1. FileZilla
If you haven't installed FileZilla yet, you can download FileZilla here.
Go to Generic Proxy settings and change the type to SOCKS5, host to localhost and Port to 9050 (if you run Tor as daemon) or 9150 (if you run TorBrowser).

If you have changed your proxy settings and get the following error: "ECONNREFUSED - Connection refused by server" that likely means you have configured your proxy incorrectly. Check if everything is set correctly, Tor is running and if you still have the issue, switch the Port between 9050 and 9150. This is what's causing most connection issues people have.

Once you have configured everything correctly, you should be able to successfully connect and start uploading files.
2. WinSCP
If you haven't installed WinSCP yet, you can download WinSCP here.
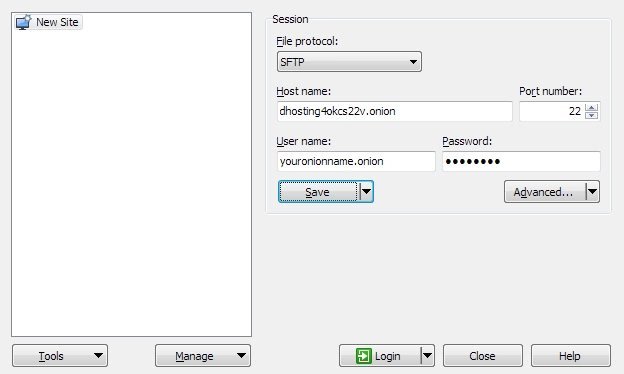
When started, enter your connection details.
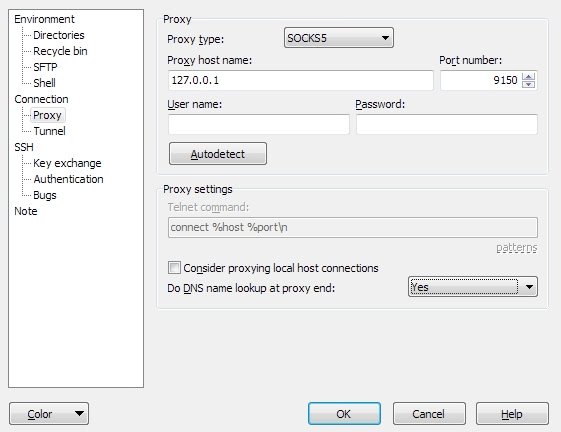
Click on the Advanced… button and under Connection, change timeout to 50 as Tor can be slow at times.
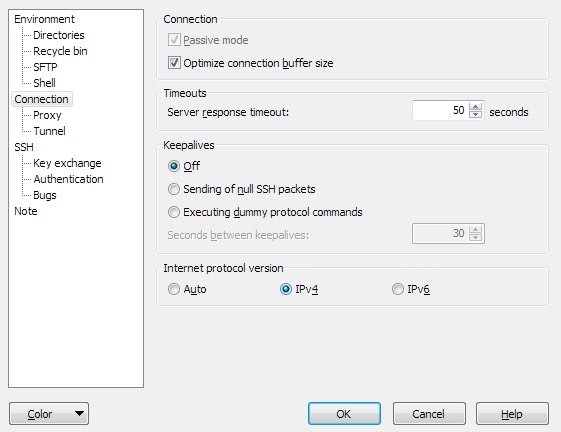
Now switch to the Proxy tab and change the type to SOCKS5, host to 127.0.0.1 and Port to 9050 (if your run Tor as daemon) or 9150 (if you run TorBrowser) and set "Do DNS name lookup at proxy end" to yes.